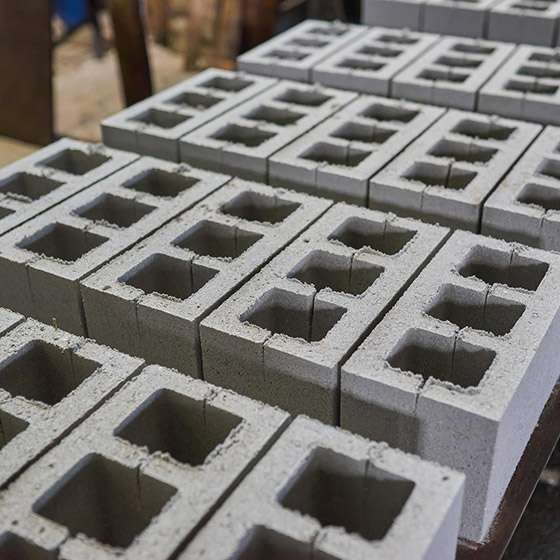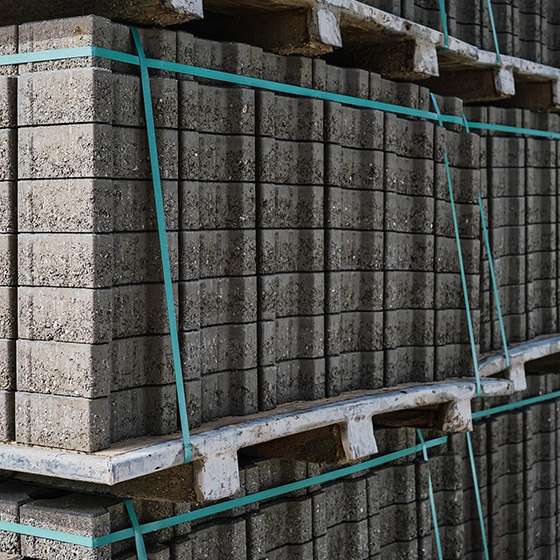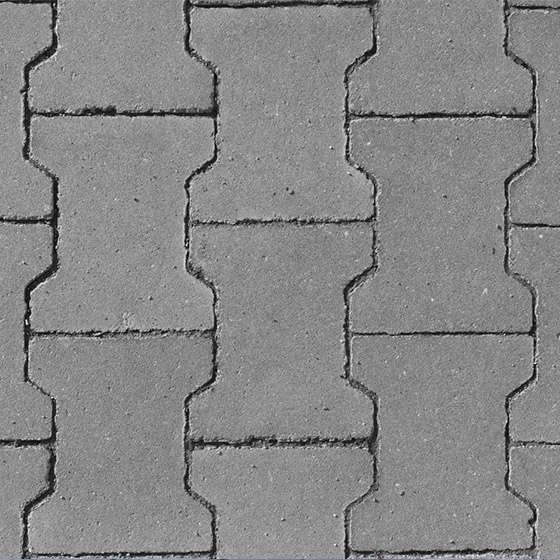
Interlocking paver blocks have pretty much taken over in India for all kinds of paving—driveways, footpaths, parking lots, industrial yards, and even roads. Why? They’re tough, look good, and you can lay them down a whole lot faster than traditional cast-in-place concrete. But, let’s get real—not every paver block you see out there is made to last. The real difference comes down to quality control through every single step. If you want blocks that actually hold up—strong, low-absorption, resistant to wear—you need to pay attention to the details, from raw materials all the way to final testing.
Here’s a clear look at how to actually pull it off, plus why Karmyog Hi-Tech Machineries’ Automatic Paver Block Making Machine matters if you’re going to do this right, especially at scale.
There’s an actual standard for paver blocks in India: IS 15658. It lists strength grades—M30, M35, M40, M45, M50, and M55—based on 28-day compressive strength. Lighter grades are fine for footpaths, but if you’re laying pavers for something like a loading dock or a busy road, you need at least M40 or higher. But it’s not just about compressive strength. These standards also control water absorption (keep it below 6% on average) and abrasion resistance. Basically, a block that’s strong but absorbs water will still crumble way too soon, especially under weather and heavy vehicles.
If you want to hit these numbers every time, you just can’t do it reliably with hand-mixing and manual pressing. That’s where automatic machines stand apart.
The whole process begins with your ingredients. Quality here makes or breaks everything.
Coarse Aggregate: Go for 10mm or smaller. It has to be clean, mostly free from clay (max 3% clay by weight). Any debris messes up the mix.
Sand (Fine Aggregate): Well-graded, ideally Zone II. Stay away from Zone IV if you want high strength.
Check the hydraulic fluid level with a quick glance. If you spot a slow leak early, you avoid a much bigger headache.
Water: Only clean, drinkable water. And be strict—keep your water-cement ratio around 0.40.
If you’re aiming for M40, you’ll need at least 380 kg of cement per cubic meter. The rest of the proportions? They’re not set in stone; you’ll need to run a few trial batches and crush some test cubes until you’re sure you’ll hit your target strength. And any time you swap out sand, change an aggregate supplier, or get a new batch of cement, check your mix again.
Dump your ingredients into a pan or forced-action mixer. The target is a dry mix—almost zero slump. Unlike regular concrete, this one has to be dry enough to hold its shape right away. The sequence matters: dry mix everything, then add water and admixture gradually. Don’t go too fast, and make sure everything’s even. Skimp on mixing, and the blocks will never reach full strength.
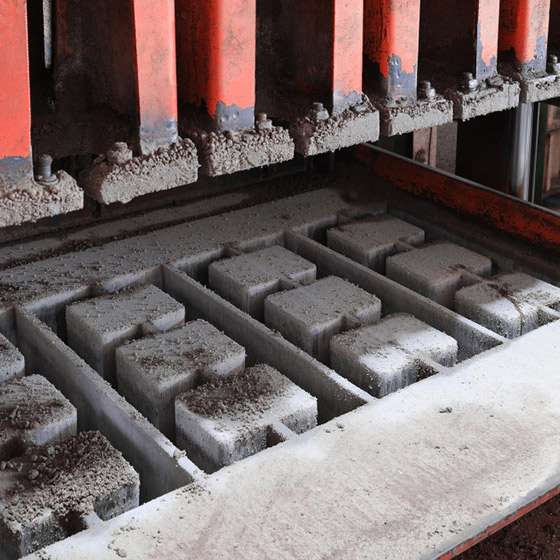
Now comes the most critical part. You feed the concrete into steel moulds shaped for whatever pattern you want (zigzag, I-shape, wave, hexagon, or whatever’s popular) and the Automatic Paver Block Making Machine does its job using hydraulic pressure and vibration.
This has to happen at the same time:
A solid machine controls pressure and vibration exactly, stroke after stroke. It’s all run by a PLC. Consistency here is the game-changer—trying to hit the same pressure and vibration by hand isn’t even in the same league. Miss this step and you’ll see it later: weak blocks that suck up water or just crumble.
After compaction, blocks are popped right out onto pallets or boards. Since the mix is that dry, they keep their shape immediately, and you can move on to the next batch in seconds. Automatic machines can push out one set every 15 to 20 seconds—so you can crank out thousands of blocks in a shift if you need to.
Curing is where things really set, but it’s also the step that a lot of manufacturers rush, thinking they can save time. Big mistake.
Skip curing or cut it short, and nothing else matters-you’ll never reach your target strength.
Before you even think about shipping blocks to a job site, test them according to IS 15658:
Testing isn’t just bureaucracy—it’s proof your process is working and you aren’t shipping out subpar blocks.
Adding too much water for easier mixing, which kills strength and lets in moisture.
Using poorly graded aggregates, so large gaps and voids form.
Rushing (or outright skipping) curing to save yard space.
Forgoing trial batches after changing raw materials.
Under-compacting because you’re trying to go faster at the expense of quality.
Switching from hand tamping or basic semi-automatic presses to an advanced hydraulic setup takes a lot of the “guesswork” and variation out of the process, which means stronger, longer-lasting blocks—every single time.
Getting high-strength interlocking paver blocks is really about doing a bunch of steps right—good materials, careful mix design, thorough mixing, strong compaction with patterned vibration, and proper curing, all topped off with batch testing. For any serious manufacturer looking to scale up while keeping blocks consistently strong and reliable, investing in a proper Automatic Paver Block Making Machine with good controls is hands down your best move. You’ll hit IS 15658 standards for whatever grade you need—and your blocks will actually stay strong where it counts.
This guide gives you a solid overview, but always double-check your designs and do IS 15658-compliant testing before going big on any project.